
How to Restore Cloudy, Yellow Headlights: Clean, Polish and Protect
Cloudy, yellowed headlights make a car look older and, more importantly, reduce how much light reaches the road. The good news is that most lenses can be restored at home or in a workshop with a polish and a protective coating, in much less time than replacing them. This guide covers why headlights degrade, the steps in order, and which products suit each step.
Why headlights go cloudy
Headlights and exterior plastic trim are made of polycarbonate, which needs good protection against environmental impact and sun exposure. When the factory coating wears away, UV light causes yellowing and fading, and the surface turns hazy. That is why restoring the clarity is only half the job: the lens must be protected afterwards or it will cloud over again.
What you need
- A headlight polish: the DP All In One Headlight Restoring Polish.
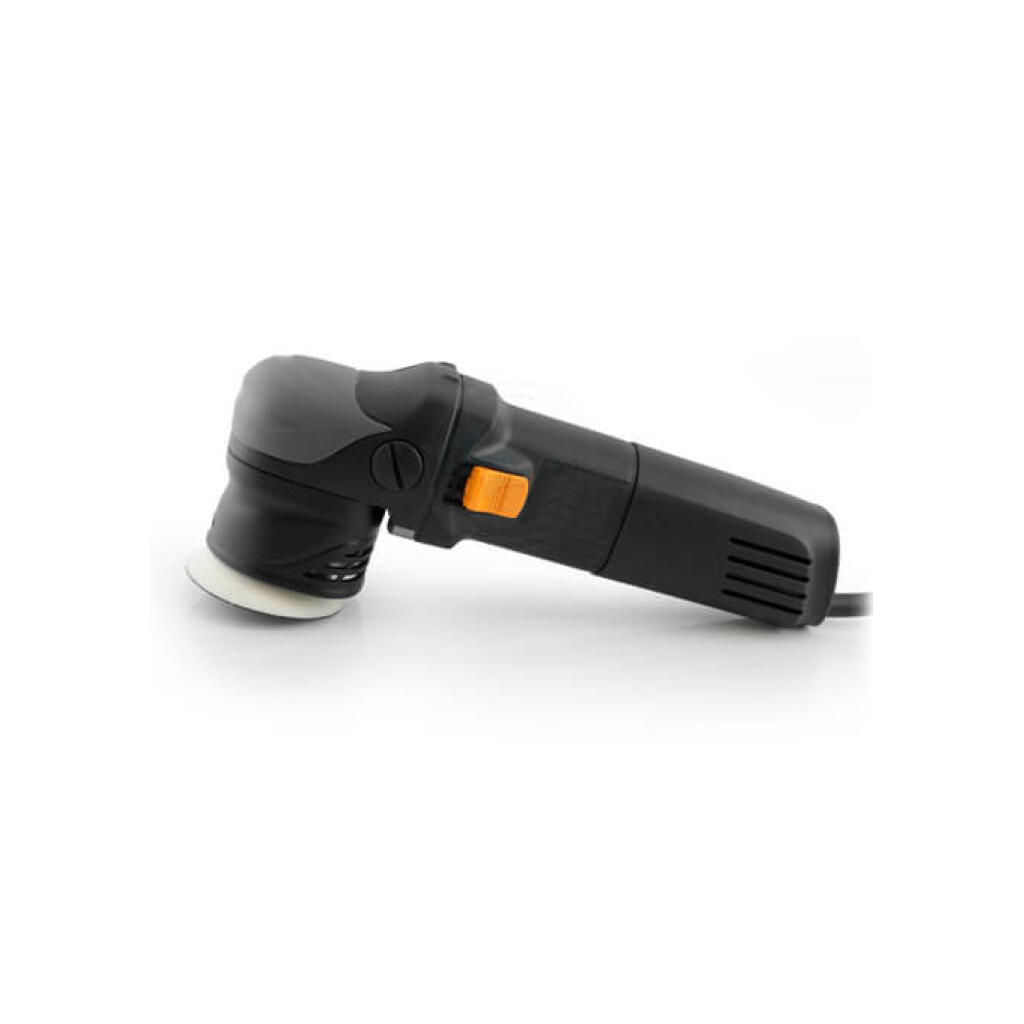
- A machine and a cutting pad: a drill, rotary or dual-action polisher with the proper backing plate and a foam or wool cutting pad. For a compact option, the GreenZ Mini Dual Action Polisher DM550 is a 550W machine for 3-inch spot pads with a 12 mm orbit, weighing 1.9 kg and made for hard-to-reach areas.
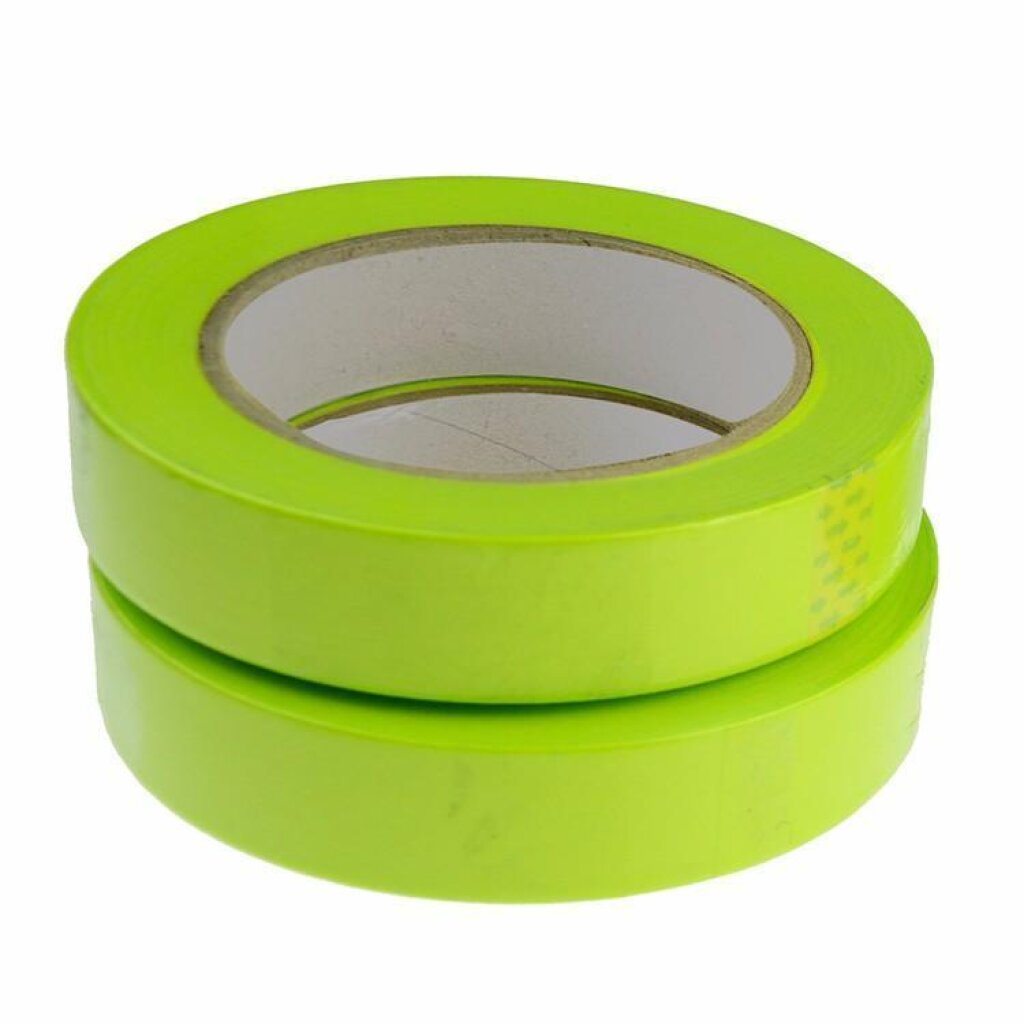
- Masking tape: the GreenZ Color Masking Tape (4 rolls) gives sharp lines, leaves no residue on paint, metal, rubber or glass, and is made to be used when polishing headlights.
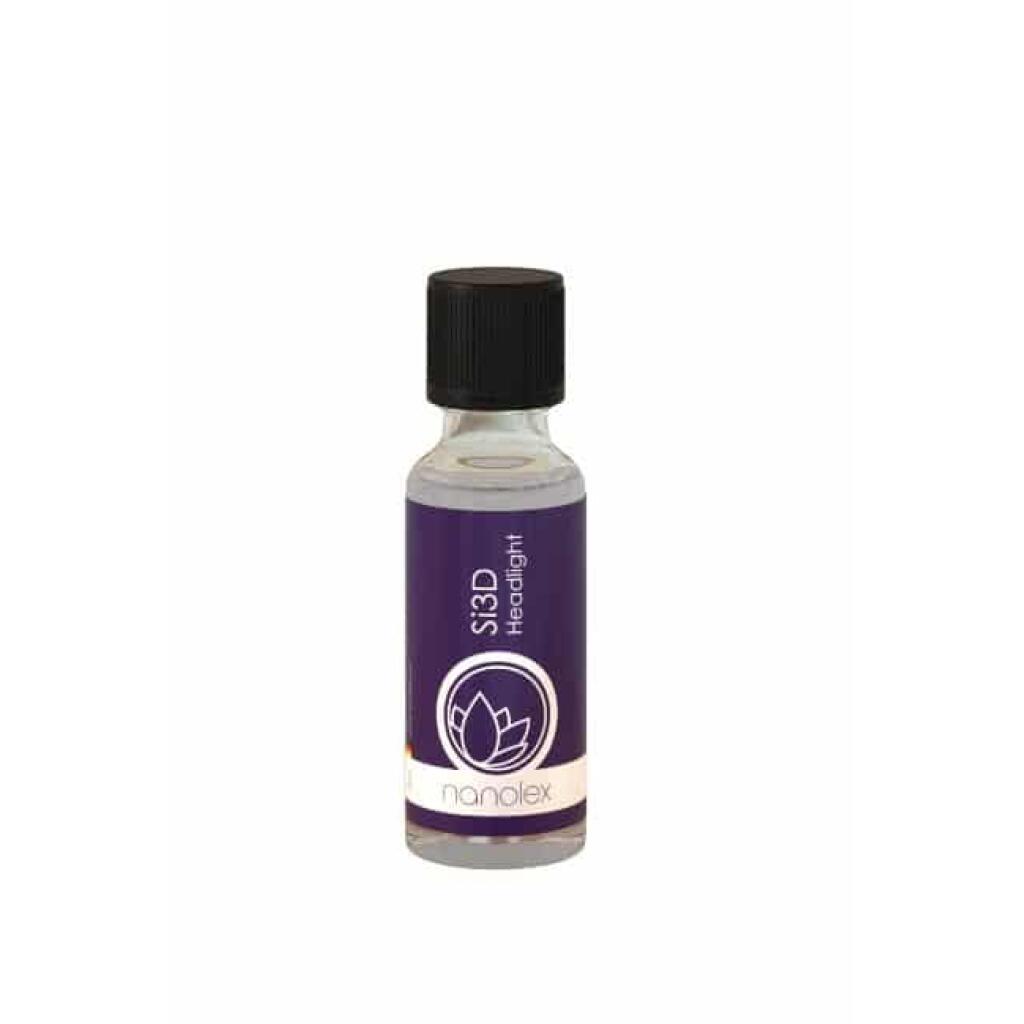
- A protective coating: the Nanolex Si3D Headlight & Trim Ceramic Coating.
- Microfiber towels, plus a way to degrease the lens.
Step 1: Clean and prepare
Wash the car and make sure the lens is clean and cool to the touch. Nanolex says the headlight should be clear, clean and blemish-free and that you should degrease it before coating (it names its own EX Residue Remover for this). Check for cracks or moisture inside the lens, which polishing cannot fix.
Step 2: Mask the surrounding paint
Tape off the paint around the lens. A polisher can easily burn through the paint at the edge of a headlight, so do not skip this step. Use a tape that releases cleanly, such as the masking tape above.
Step 3 (optional): Wet-sand heavily oxidised lenses
Where the polish alone does not clear a lens, some detailers add a light wet-sand first. The GreenZ Foam Sanding Discs 3000 Grit and GreenZ Foam Sanding Discs 4000 Grit are made for wet sanding and for curved surfaces. Their product pages describe paint work, not headlights, so test on a hidden area first and follow your own tested process.
Step 4: Polish until clear
DP gives these directions for its All In One Headlight Restoring Polish:
- Apply it with a drill or polisher fitted with the proper backing plate and a foam or wool cutting pad.
- Dispense a line of polish around the outer edge of the pad, press the pad to the lens and turn the machine on.
- With a drill or rotary polisher, set the speed between 1500 and 1800 RPM. With a dual-action polisher, set it between 5000 and 6000 OPM.
- Work the polish in until the lens turns clear.
- Wipe off the residue with a microfiber towel, and repeat if necessary.
DP says the polish is easy to wipe off and has a zero-dusting formula, so your paint and clothing are not covered in dust. Our polishing machine guide covers technique, and our guide to cleaning polishing pads helps keep your pads working.
Step 5: Protect the lens
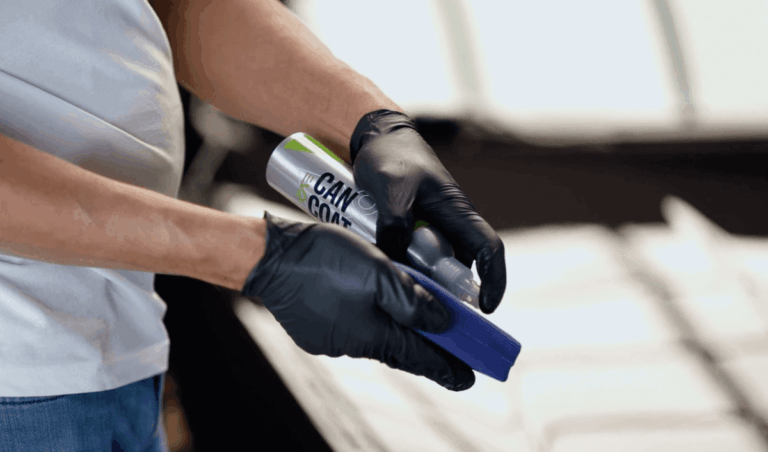
A polished lens with no protection will yellow again. DP recommends following up with a headlight protectant to retard UV-induced yellowing and fading. For longer-lasting protection, the Nanolex Si3D Headlight & Trim is a coating that bonds with acrylic and polycarbonate and gives UV protection, easy-to-clean properties and scratch resistance, with UV absorbers, radical scavengers and antioxidants to guard against UV-induced deterioration. A single layer is all it needs. Nanolex’s directions:
- Make sure the lens is clear, clean and blemish-free, and degrease it.
- Mask the surrounding area with detailing tape.
- Apply a few drops to an applicator cloth and rub in an even layer over the lens.
- Avoid leaving blobs of product to dry, because they need machine polishing to remove.
- When the surface appears dry and clear, buff lightly with a microfibre cloth.
- If you want a second coat, apply it straight away, because applying it after the product is fully cured is more difficult.
- Allow 24 hours of curing before exposing the lens to the elements. The product is fully cured in around 78 hours.
Common mistakes
- Skipping the masking and marking the surrounding paint.
- Polishing a hot lens in direct sun.
- Restoring the lens but leaving it unprotected.
- Leaving blobs of coating to dry.
- Exposing a freshly coated lens to rain or sun before it has cured.
Frequently Asked Questions
Why do headlights turn yellow and cloudy?
Headlights are made of polycarbonate, which needs good protection against environmental impact and sun exposure. Once the factory coating wears away, UV light causes yellowing and fading, and the lens turns hazy.
Can I restore headlights with polish alone?
Often. DP says its All In One Headlight Restoring Polish, used with a drill, rotary or dual-action polisher and a foam or wool cutting pad, can make plastic headlight lenses look brand new within minutes. Work it in until the lens turns clear, wipe off the residue and repeat if necessary.
What polisher speed should I use on headlights?
For DP All In One Headlight Restoring Polish, DP says to set a drill or rotary polisher between 1500 and 1800 RPM, and a dual-action polisher between 5000 and 6000 OPM.
How do I stop restored headlights yellowing again?
Protect them. DP recommends following the polish with a headlight protectant to retard UV-induced yellowing, and Nanolex Si3D Headlight & Trim is a single-layer coating with UV protection. Allow 24 hours of curing before exposing it to the elements.
Do I need to mask around the headlight?
Yes. Tape off the paint surrounding the lenses before polishing. A masking tape made for detailers, such as the GreenZ Color Masking Tape, leaves no residue on paint, metal, rubber or glass.